(Watch an audio-slideshow of the Bathroom Makeover Project)
We didn’t want to spend the time and money gutting the old bathroom. We just wanted to bring it back to life. This made the details of the project that much more important.

Color Choices
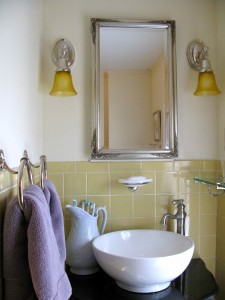
The first challenge was to find a way to live with all that yellow tile. With your help, we chose to paint the walls above the tile “Corner Cupboard Yellowish White.” The white in this shade lightened the mood of the tiles by accentuating the white grout. And the subtle yellow hue, helped bring out the yellow highlights in the tile color.
Next, we needed an accent color that would help boost the yellow/sand color in the tiles and downplay the heavy green tones contained within. And the lavender we chose in the toile shower curtain and matching towels helped to do that.
Setting the Historic Period
With our colors in place, everything else was about setting the period of the antique bathroom. We knew that without a gut-job we weren’t going to have a modern spa feel in the bathroom. So we needed to highlight the historic nature of the room.
Once we chose the old-fashioned vanity and faucet with vessel sink, it all came down to the details again.
Two yellow ceramic towel bars, a soap dish and a toothbrush holder were removed from the tiled walls. The towel bars were replaced with polished nickel towel rings. The soap dish was replaced with a polished nickel and white milk glass soapdish. And the in-the-wall toothbrush holder — which couldn’t hold some of the fatter modern-day toothbrushes — was replaced with a white Ironstone pitcher from the mid-1800s, purchased on ebay.
Lighting Decisions

Lighting was also chosen for it’s historic look. Polished nickel sconces dangle on each side of the antique silver mirror/medicine cabinet.
Their shades are amber to accentuate the yellow tile, not fight with it. And the ceiling fixture features a frosted milk glass shade in the shape of an acorn: its curves adding to the romance of the shower curtain treatment which features a lilac toile drawn back over lace.
Even the light switch next to the vanity has been replaced with an old-fashioned push button switch.

One of the main problems with the old bathroom design was a lack of storage space. Besides adding storage with the new vanity we also hung a cabinet in the 7-inch recess of the sidewall.
We found the perfect Victorian cabinet to hang there on ebay, but at $600 it was out of our price range, so we waited for a better deal. Patience paid off when we bought a wooden cabinet with Victorian-era hinges that used a 100-year-old ceiling tile framed in its door for just $75.

Art That Works
And finally, we needed some art. Our friend, artist Joy Waldman provided that.
We purchased two watercolor prints from her that complimented our color scheme and Victorian sensibilities in great floral fashion.
One of the neat things about Joy’s work is that she lets the images overflow off the canvas and onto the framed mat.
Both prints are timeless and a joy to behold (sorry, I couldn’t resist).
Watch an audio-slideshow of the Bathroom Makeover Project
See “Bathroom Makeover Part 1“
See “Bathroom Makeover Part 2“
See “Bathroom Makeover Part 3“
—————————————————————————-
The ‘Beacon Hill’ Backyard Makeover (Slideshow included)
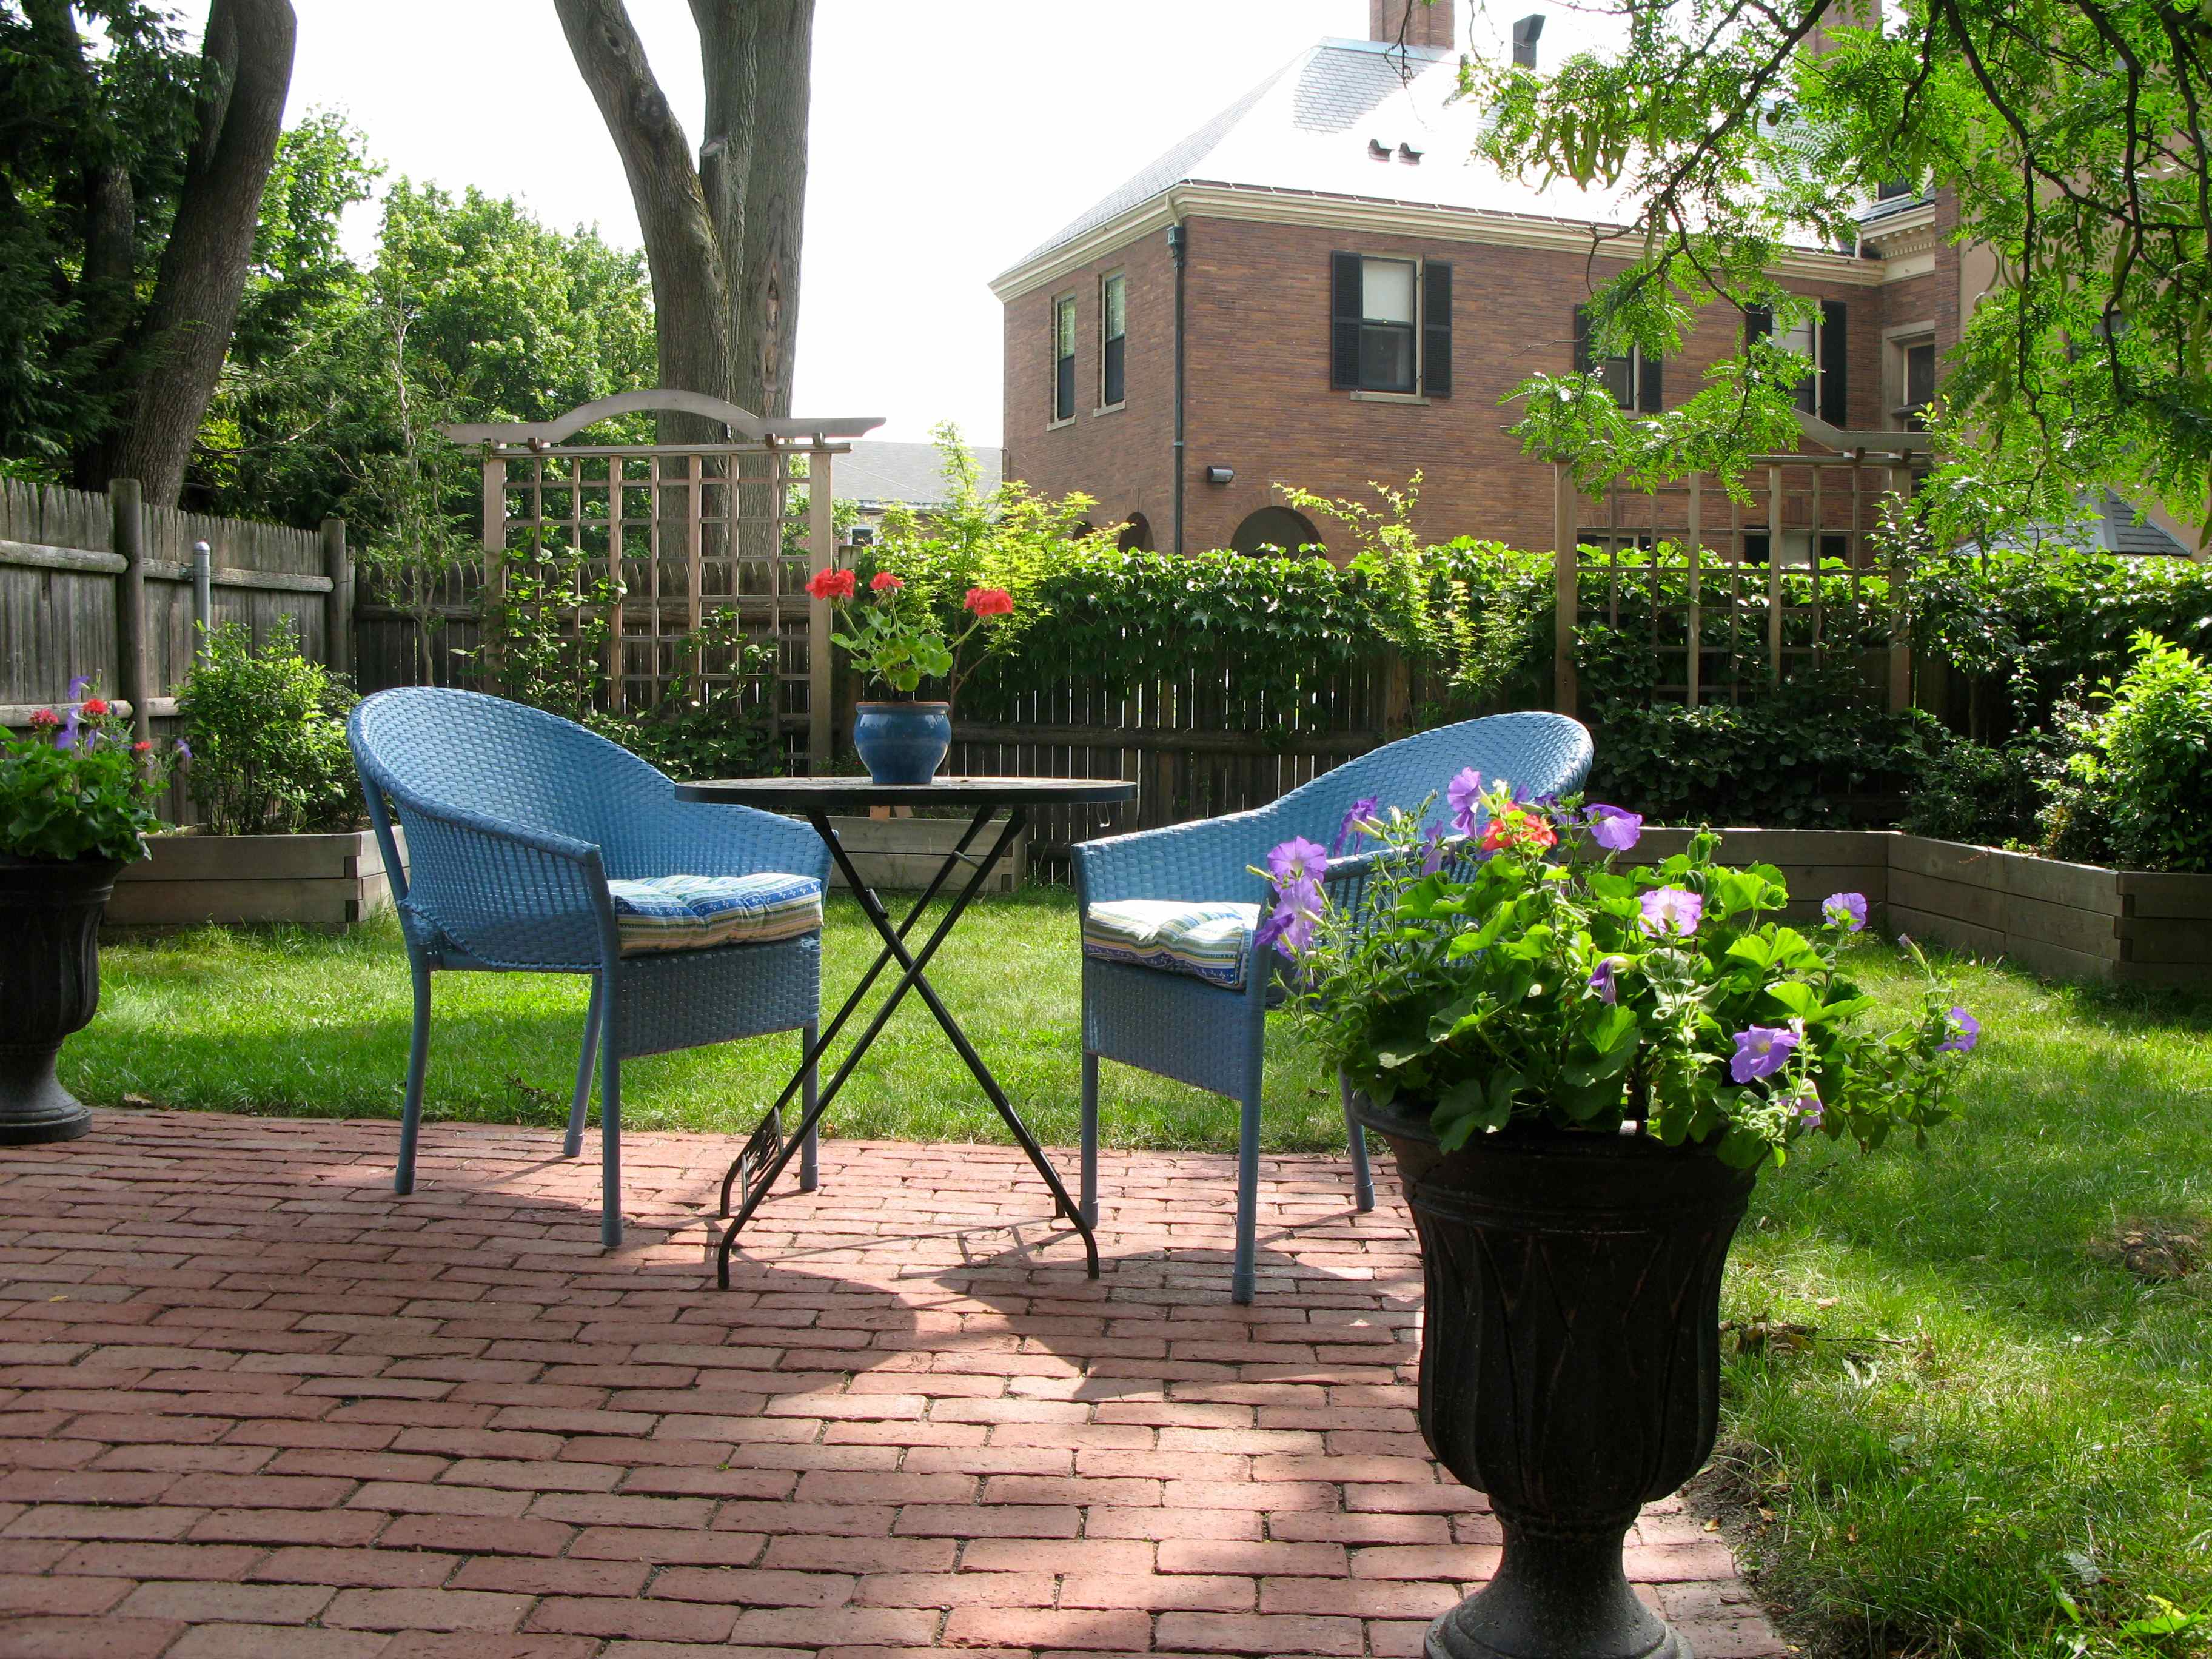
- Here’s the RootsLiving backyard after a “Beacon Hill” makeover.
(Click here or the photo above to see a slideshow of the new backyard. To watch it full screen, click on the arrows in the lower right corner of the slideshow.)
(Aug. 3, 2009) Last year, I wanted to turn my small backyard in Malden, Mass. into something rivaling a Beacon Hill garden.

My home is right outside of Malden Square and friends and family are often surprised at the amount of privacy we have: we have more privacy in the heart of the city than most people have in more suburban neighborhoods.
Yet, the yard was run down so I sought inspiration on Beacon Hill. Every year the Beacon Hill Garden Club has a tour of the hidden gardens there and so as news editor of Boston.com I conveniently decided I would create a photo gallery of the tour.
I knew I wanted to replace the old, crumbling asphalt walkway with bricks and extend the brickwork into a small patio. I also knew I wanted to add some small trees and bushes along the back fence. And I also knew none of this would be cheap, so I did what I usually do before starting a big project: I consulted a design expert so I wouldn’t miss any unforeseen opportunities to improve the yard.
This peace of mind cost about $250. For that, landscape designer Sally Muspratt came to my house and gave me suggestions for about an hour. She liked my basic plan and told me the best way to accomplish it by making a few structural suggestions and by letting me know what plants would do well in each area of the yard.


The most important thing she told me was not to waste money planting along the back fence, because a Norway Maple tree in the neighbor’s yard was putting its roots into my yard and would make it difficult for anything to survive. Instead, she suggested I build raised beds there where small trees and shrubs would be able to put down their roots.
I decided to buy the raised beds online at a site called,Naturalyards. And I also decided to buy two trellises; one in each raised bed at Trellis Structures. My friend, Jay Martinez (who works in engineering) supervised and helped install the trellises and build the beds. He also lent me his wheelbarrow, which came in handy when the local nursery dumped five yards of dirt in my driveway for the beds.
The two L-shapped raised beds are mirror images of each other. I planted the same plants in the same location in each one: two Japanese Stewartia trees; two climbing hydrangeas to climb up the trellises; two Japanese Maple trees; six low-bush blueberry plants; two Virginia Sweetspire; and two Redvein Enkianthus.


All of the plants are historically accurate to go with my 1848 house. In other words, most of these plants were readily available in the Boston area during the second half of the 19th century.
For the brick walkway and patio, I got three bids and they ranged from about $5,000 to $15,000. I went with the lowest bid, not only because of the price, but also because I had used these masons before and was a big fan of their work.
After the structural elements were in place, I tended to the smaller details: replacing an old, worn out patio table with a funky, painted, farm table; adding urns, window boxes and planters filled with flowers; and even stepping up the efficiency of my barbecue area by adding a baker’s rack someone was throwing out in the trash.
I may not be able to afford to live on Beacon Hill just yet, but now when I step in my yard, I feel like I’ve arrived.
(Photos and text by Mark Micheli)
More Home Projects:
Bamboo Linen Weave: A great painting/plaster technique to hide imperfections on old walls
Planting Moonflowers (a summer treat)
Old House Design Tip: Keep the Lighting Real


You must be logged in to post a comment.